Skip to primary navigation
Skip to main content
allmomrecipes.com
Search...
Home
Breakfast
Desserts
Lunch & Dinner
Side Dishes
Contact Us
About
allmomrecipes.com
Search and hit enter
Facebook
Instagram
Pinterest
RSS
Twitter
YouTube
Search and hit enter
Home
Breakfast
Desserts
Lunch & Dinner
Side Dishes
Contact Us
About
Facebook
Instagram
Pinterest
RSS
Twitter
YouTube
Breakfast
Search...
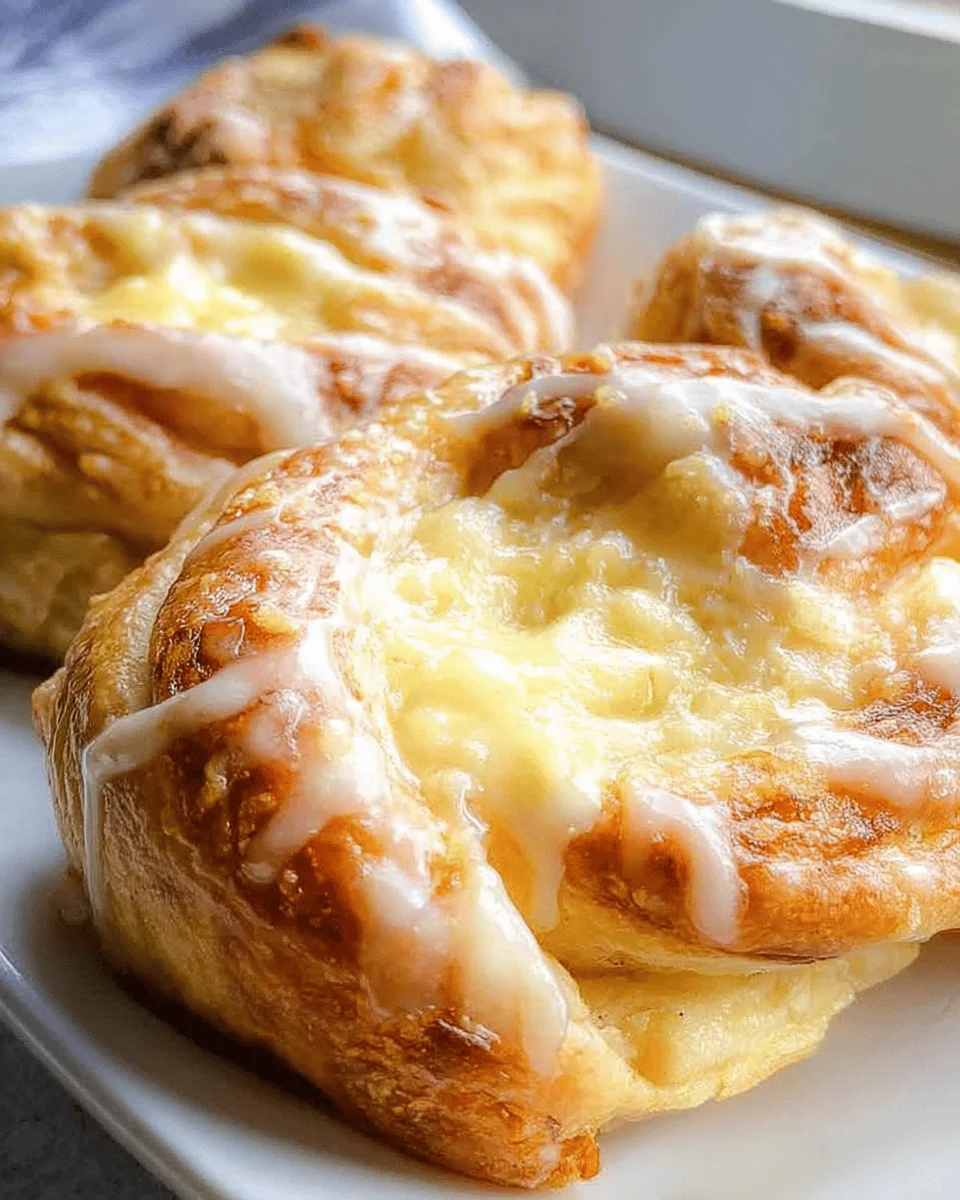
Easy Cheese Danishes
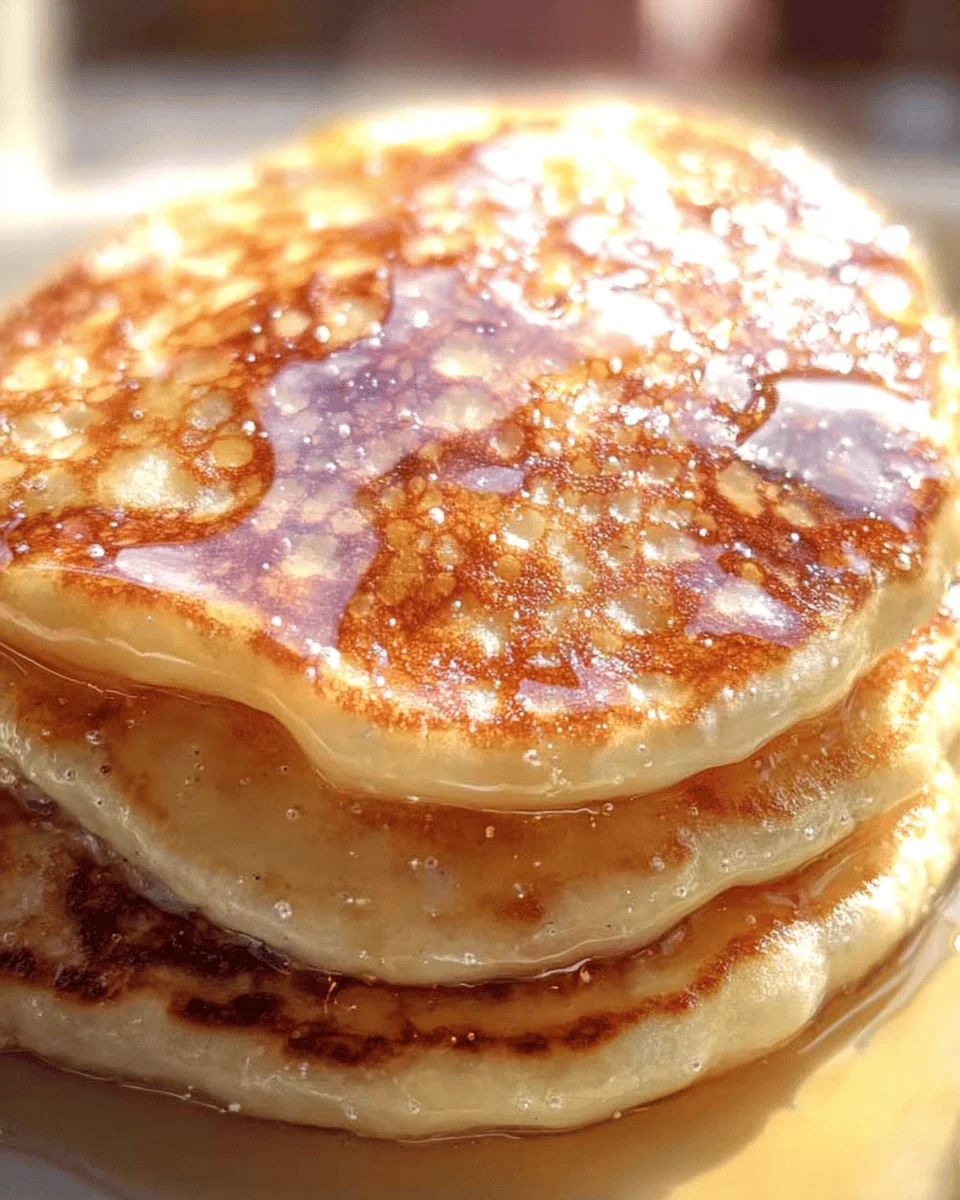
The Best Buttermilk Pancakes
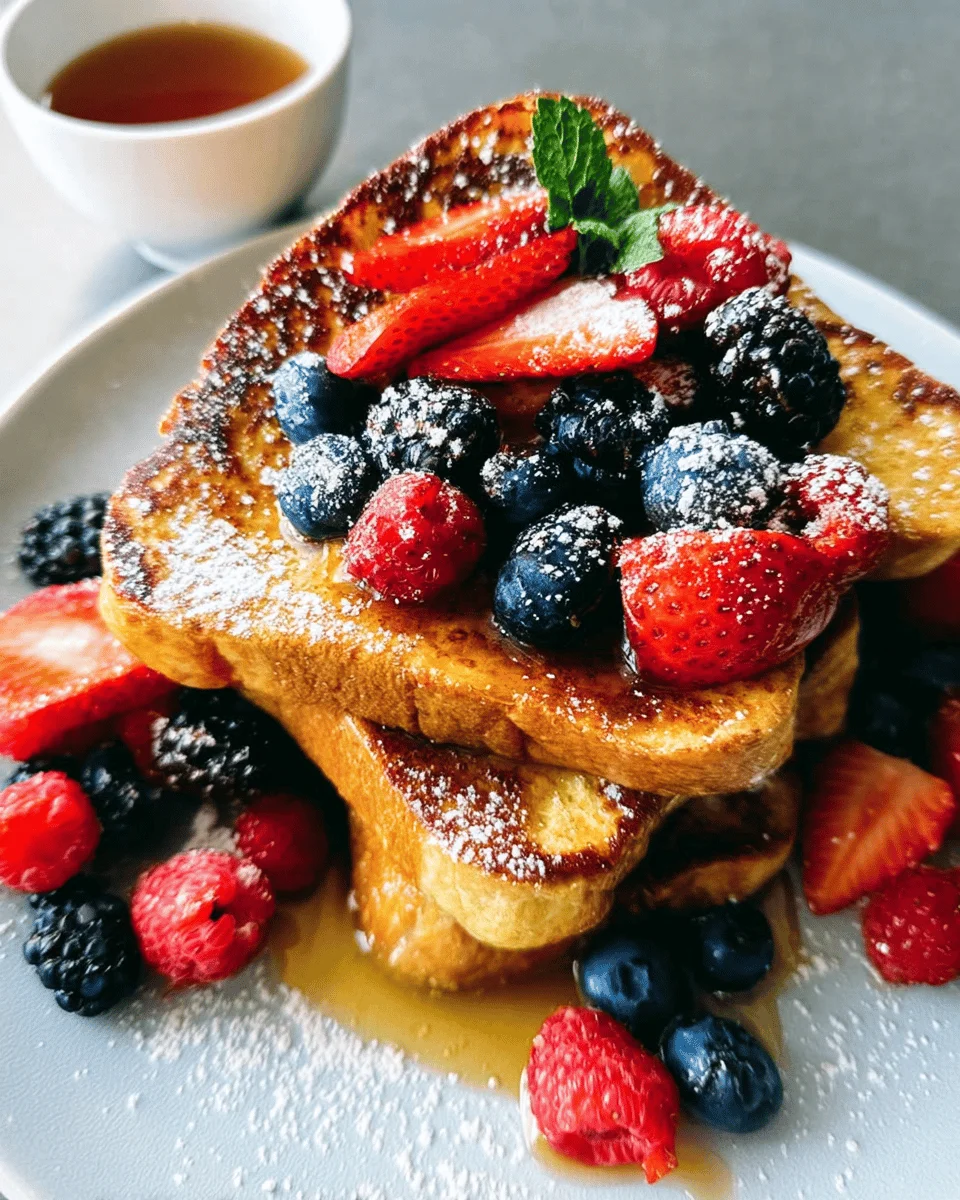
Fluffy French Toast
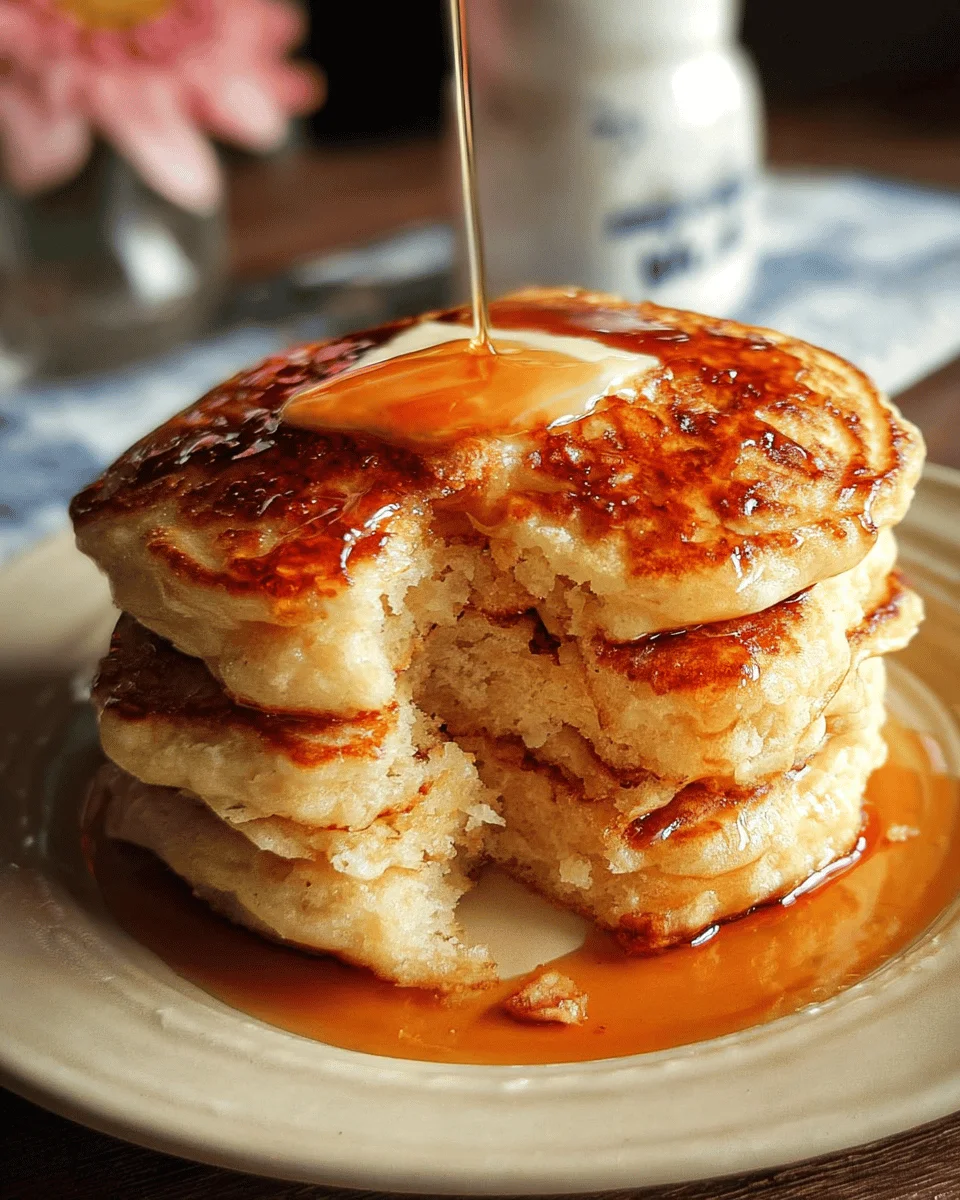
Copycat Cracker Barrel Pancakes
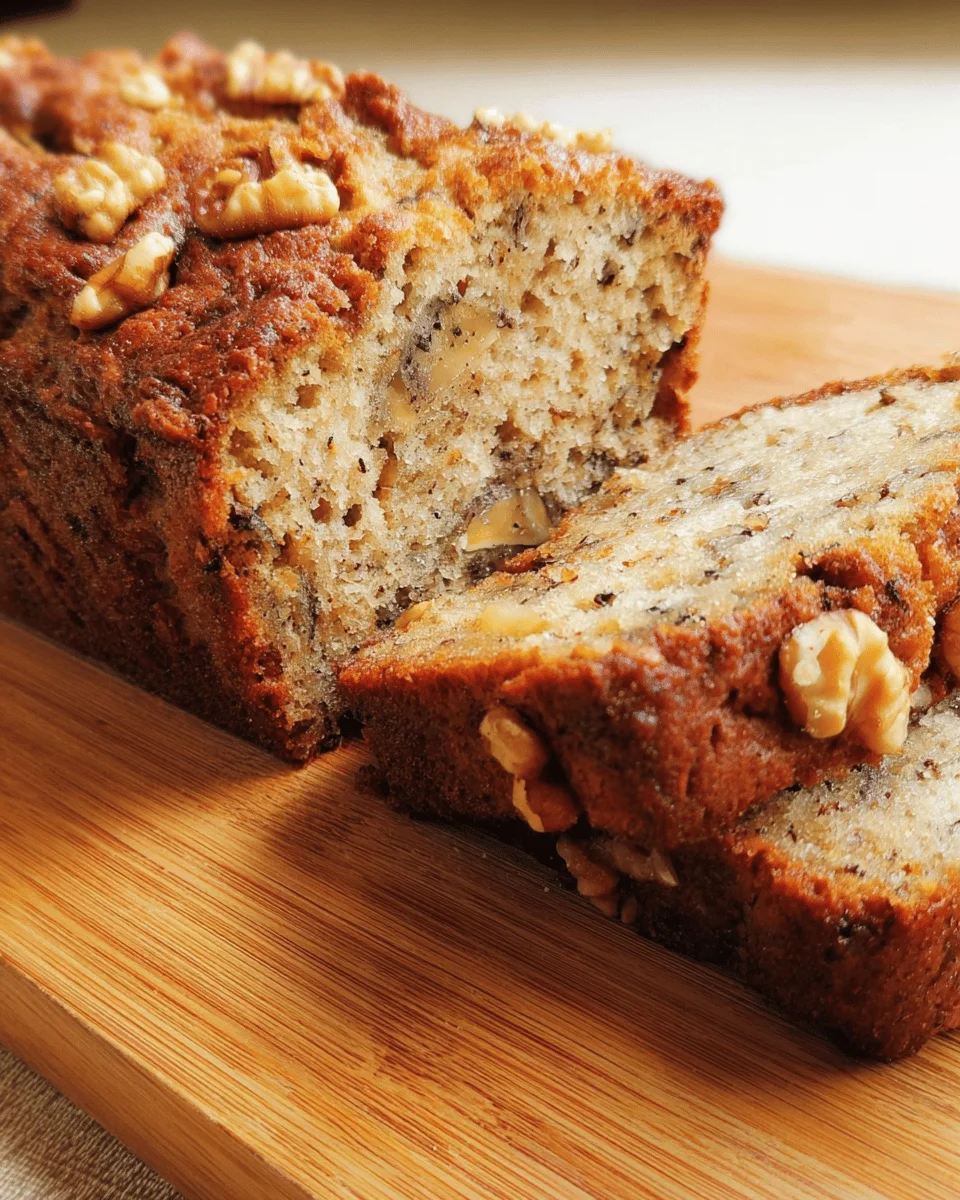
Deliciously Moist Banana Bread Recipe
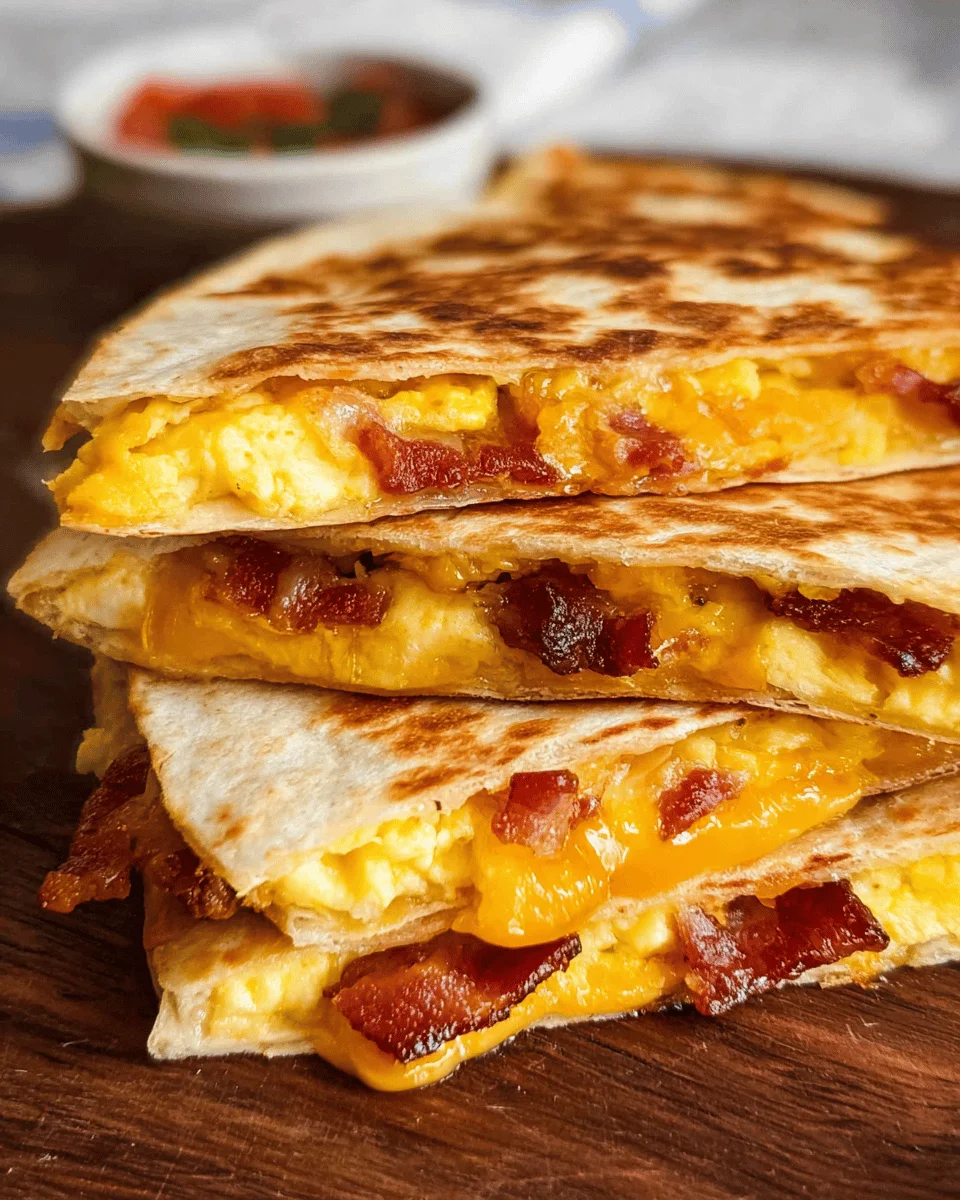
turkey bacon Egg and Cheese Breakfast Quesadillas
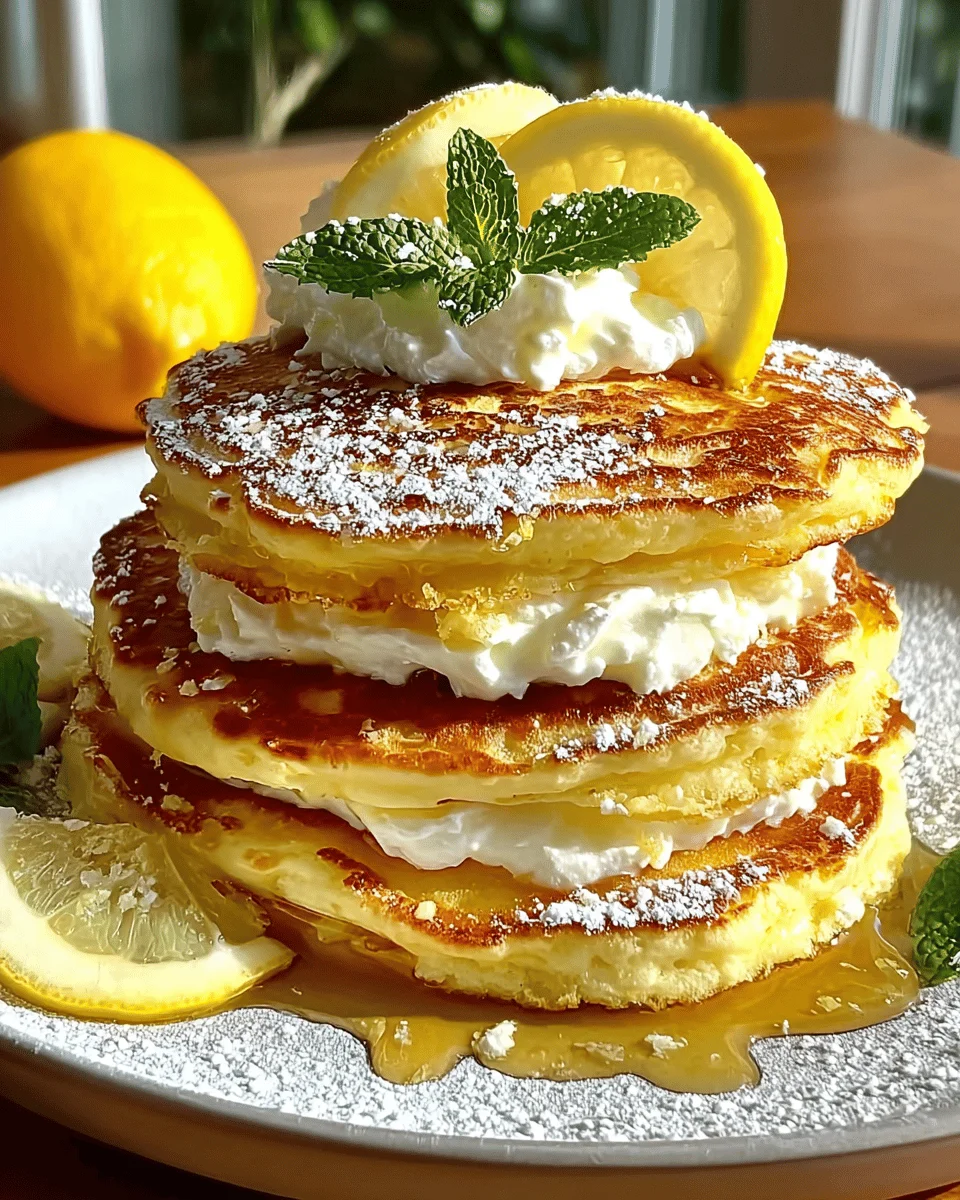
Lemon Ricotta Pancakes
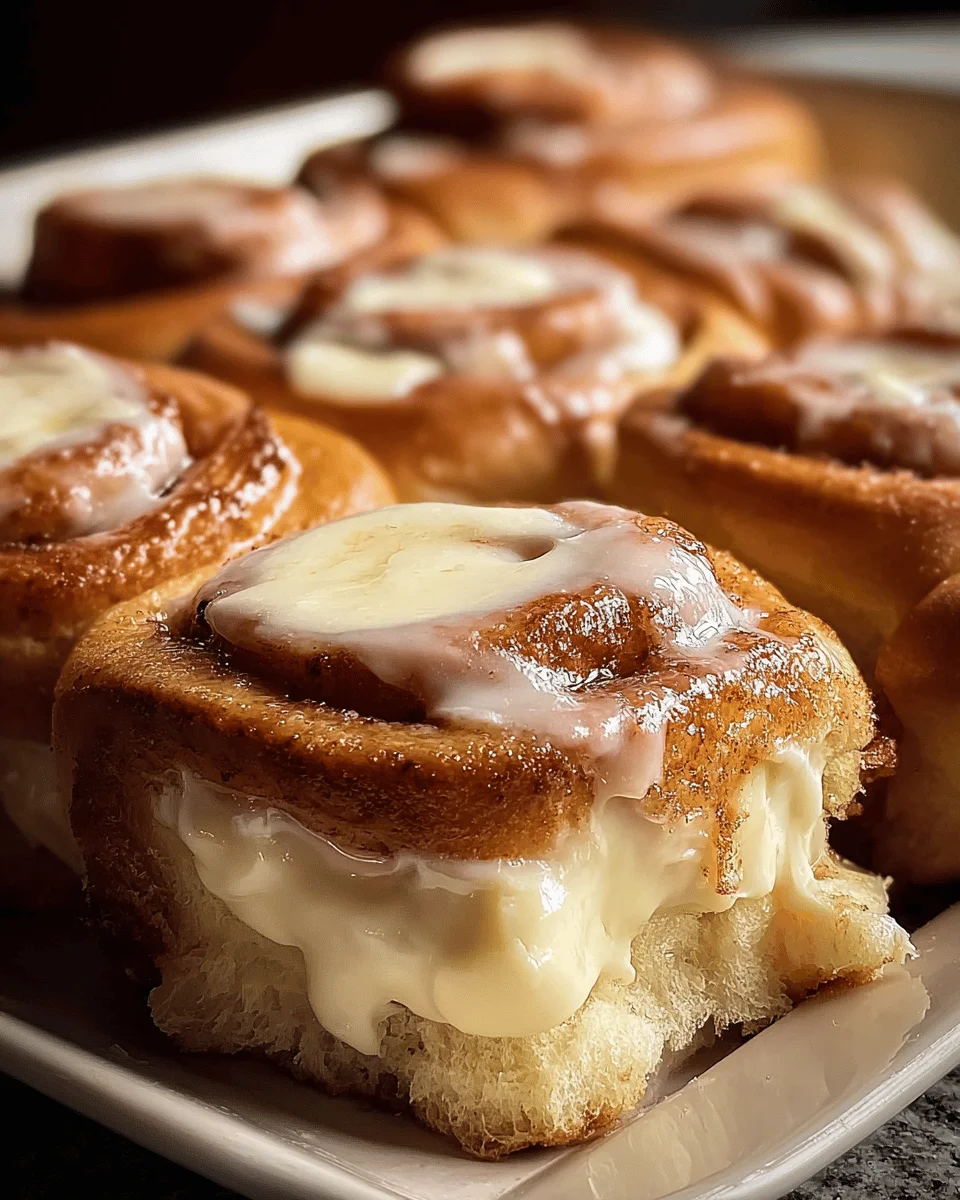
Easy Hawaiian Cinnamon Rolls
English Muffin Breakfast Pizzas
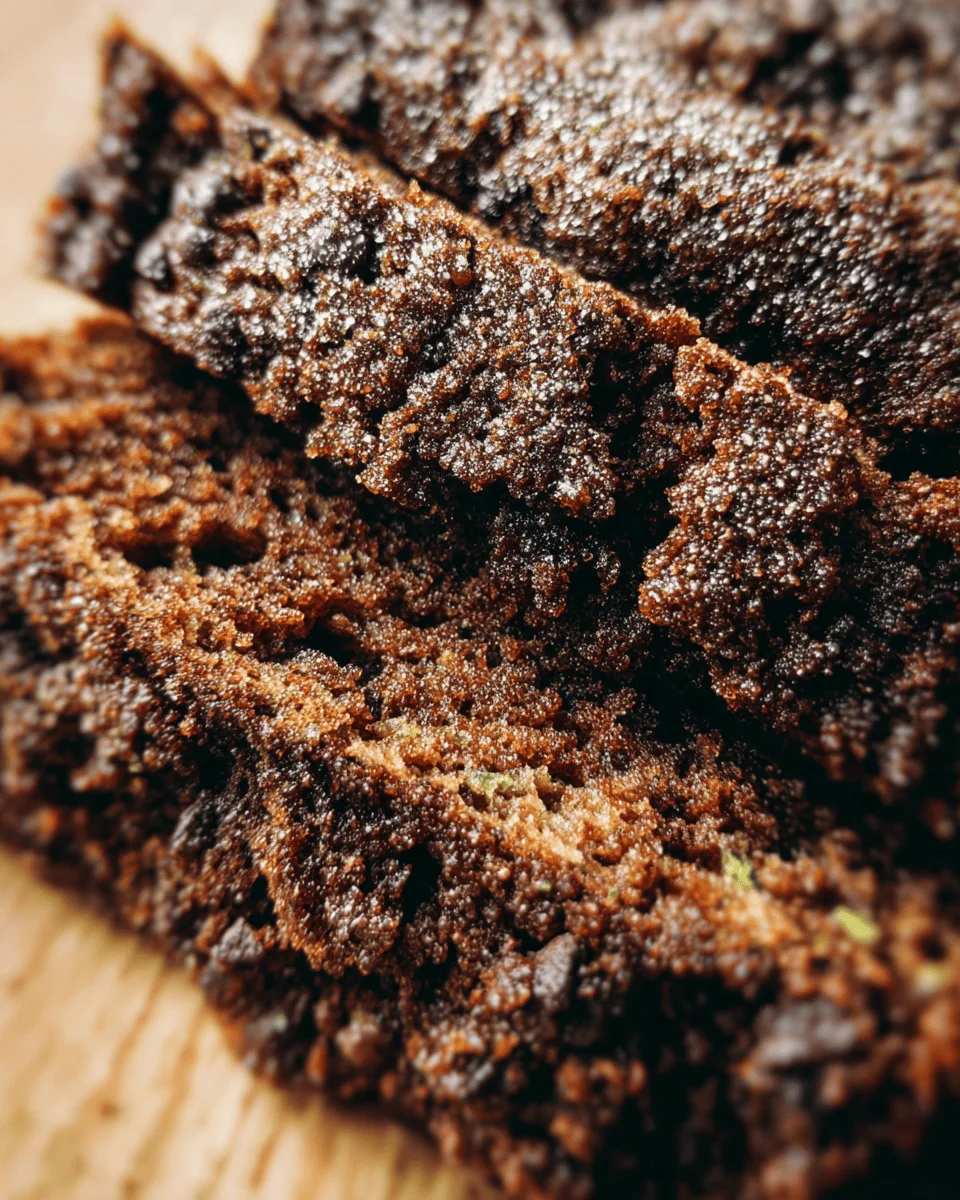
Chocolate Zucchini Bread
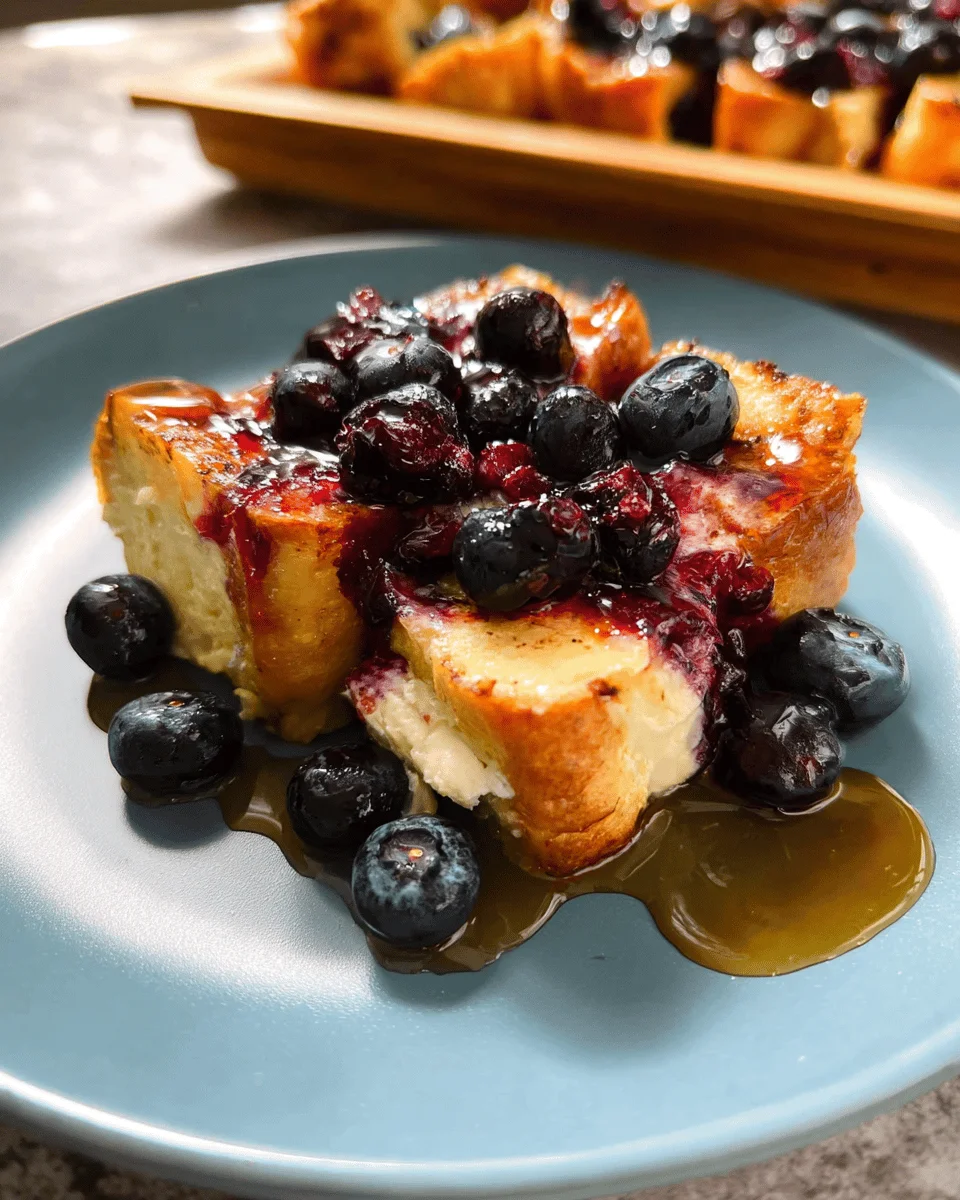
Overnight Blueberry French Toast
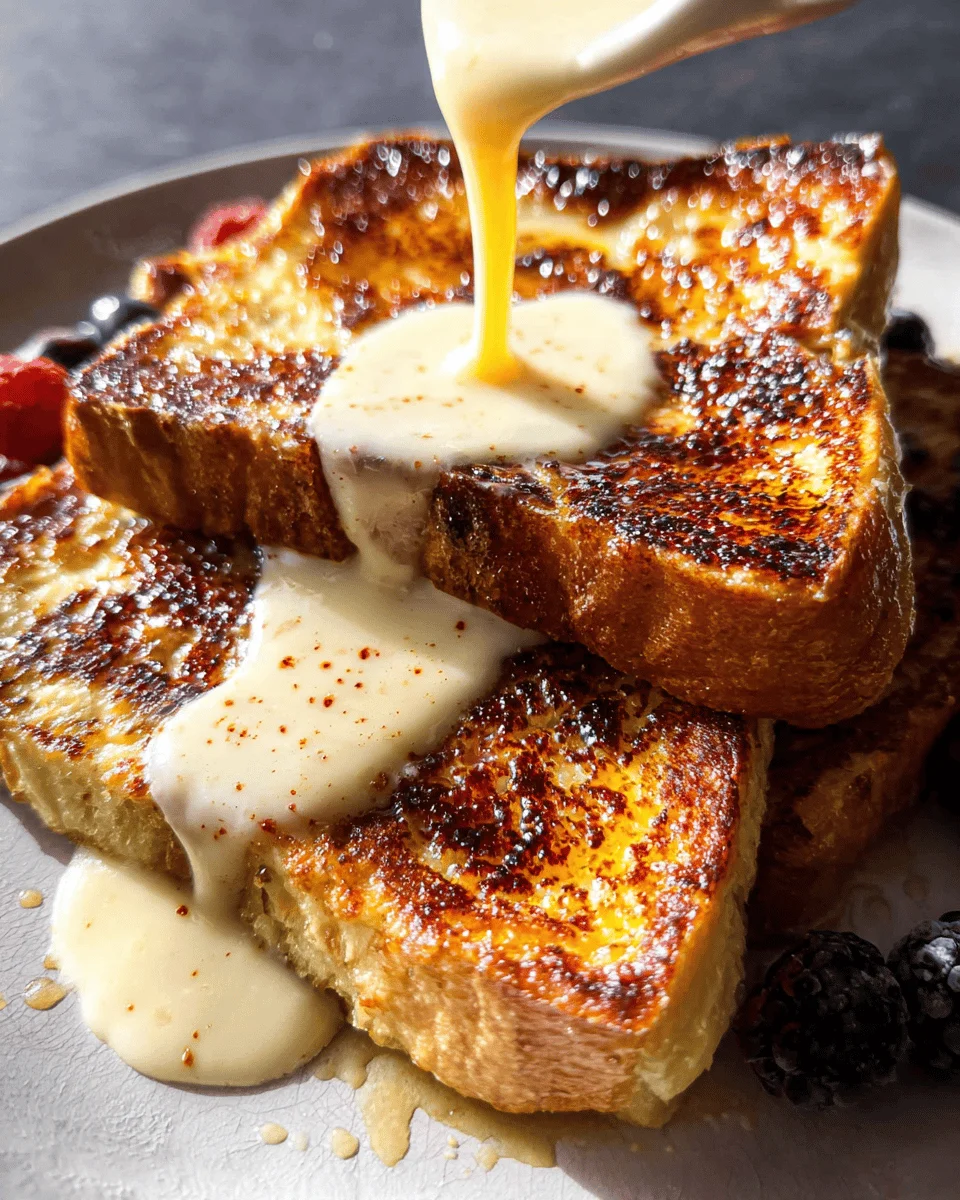
Crème Brûlée French Toast (Marry Me French Toast)
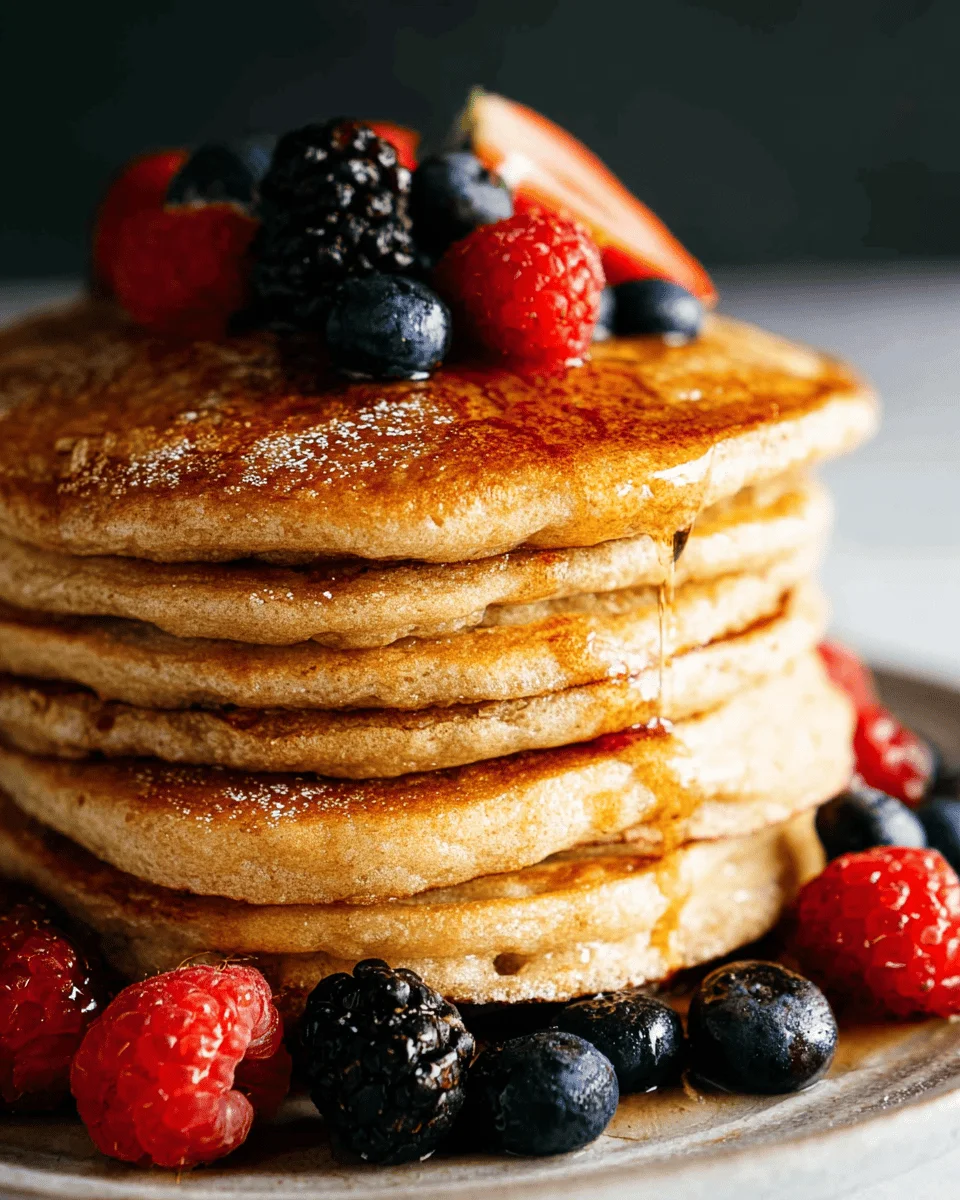
Whole Wheat Pancakes
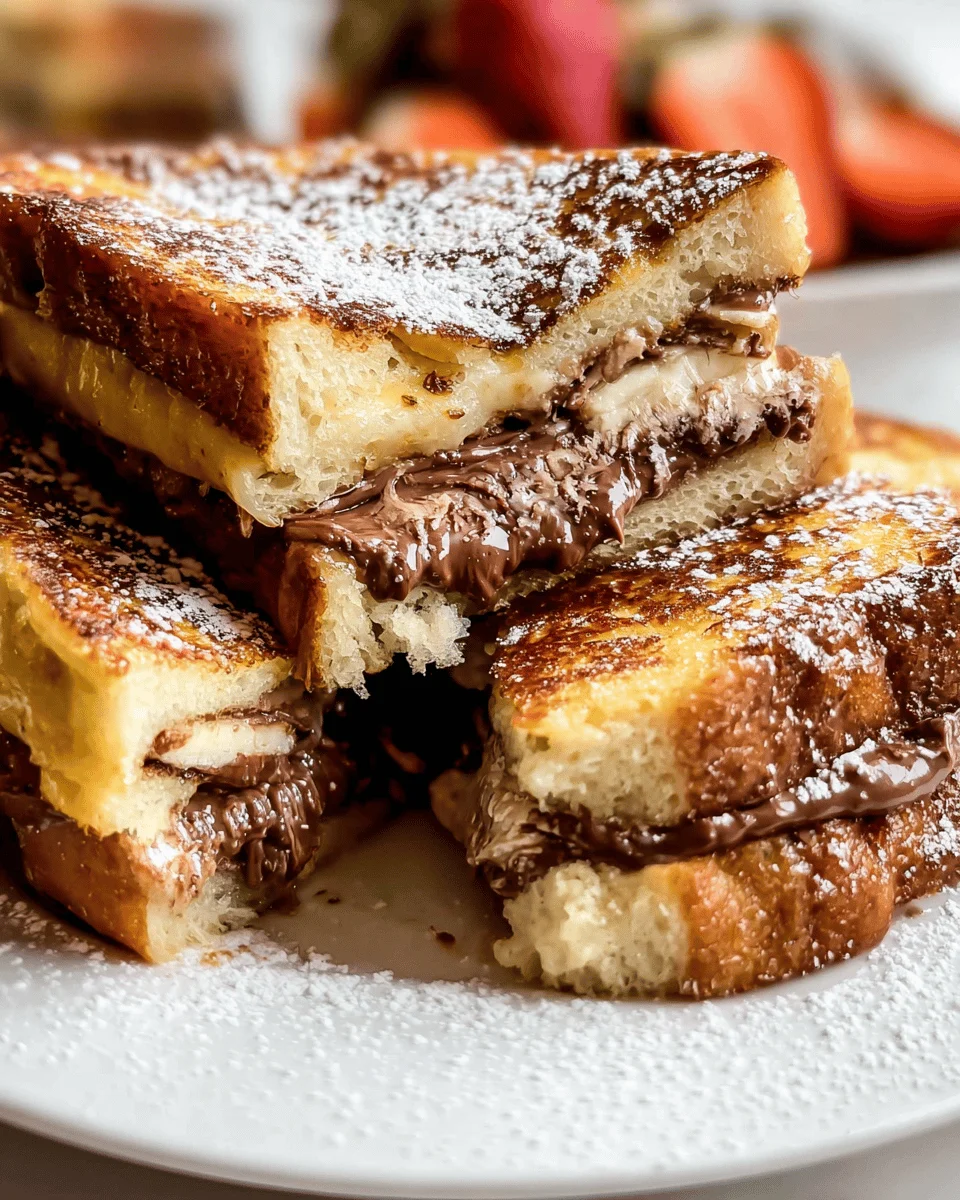
Stuffed French Toast
Secret Ingredient French Toast Recipe
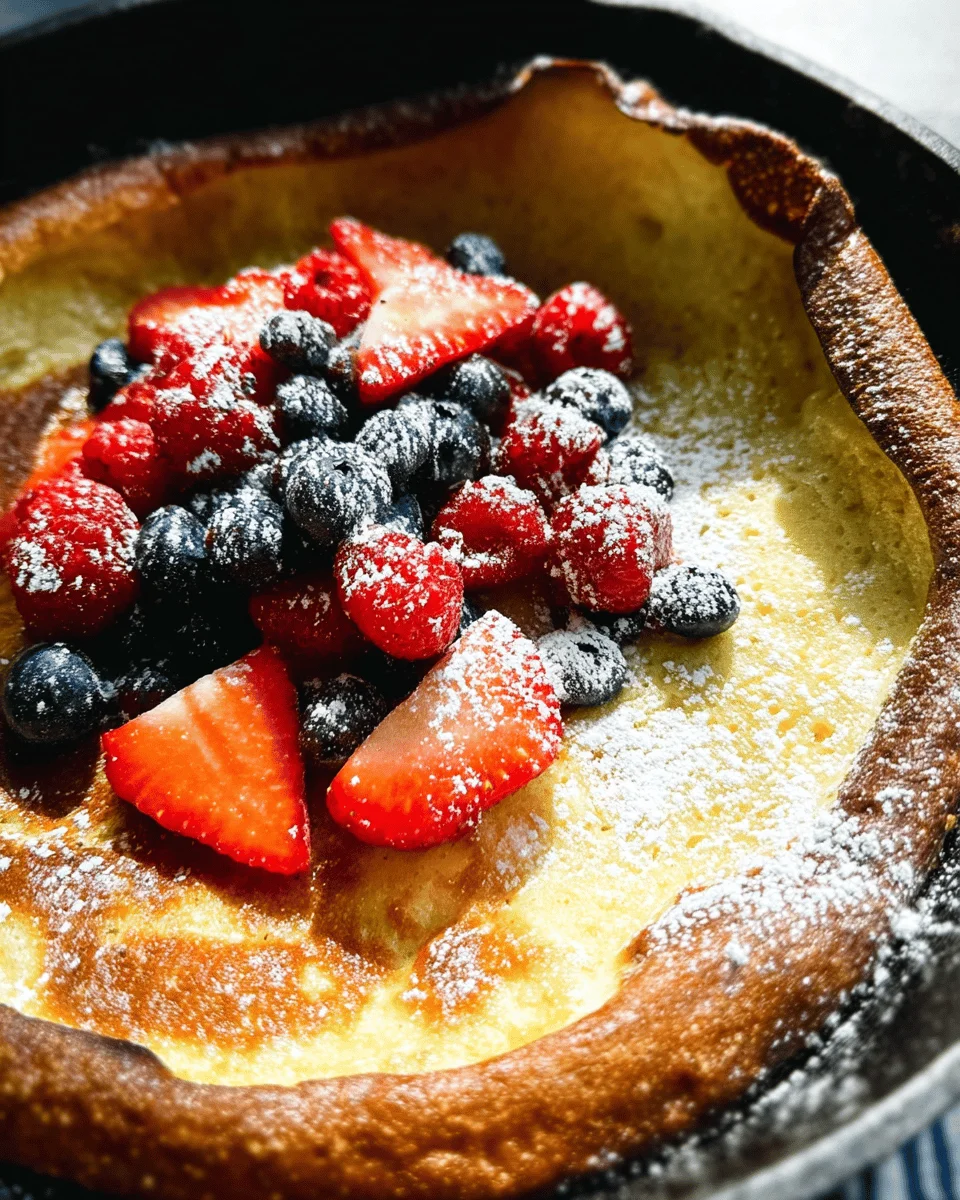
German Oven Pancake
Page
1
Page
2
Page
3
Interim pages omitted
…
Page
5
Go to
Next Page »