
Want More
From Allmomrecipes?
Subscribe here and we’ll send you our new Cuisine
eBook full of reader favorites!

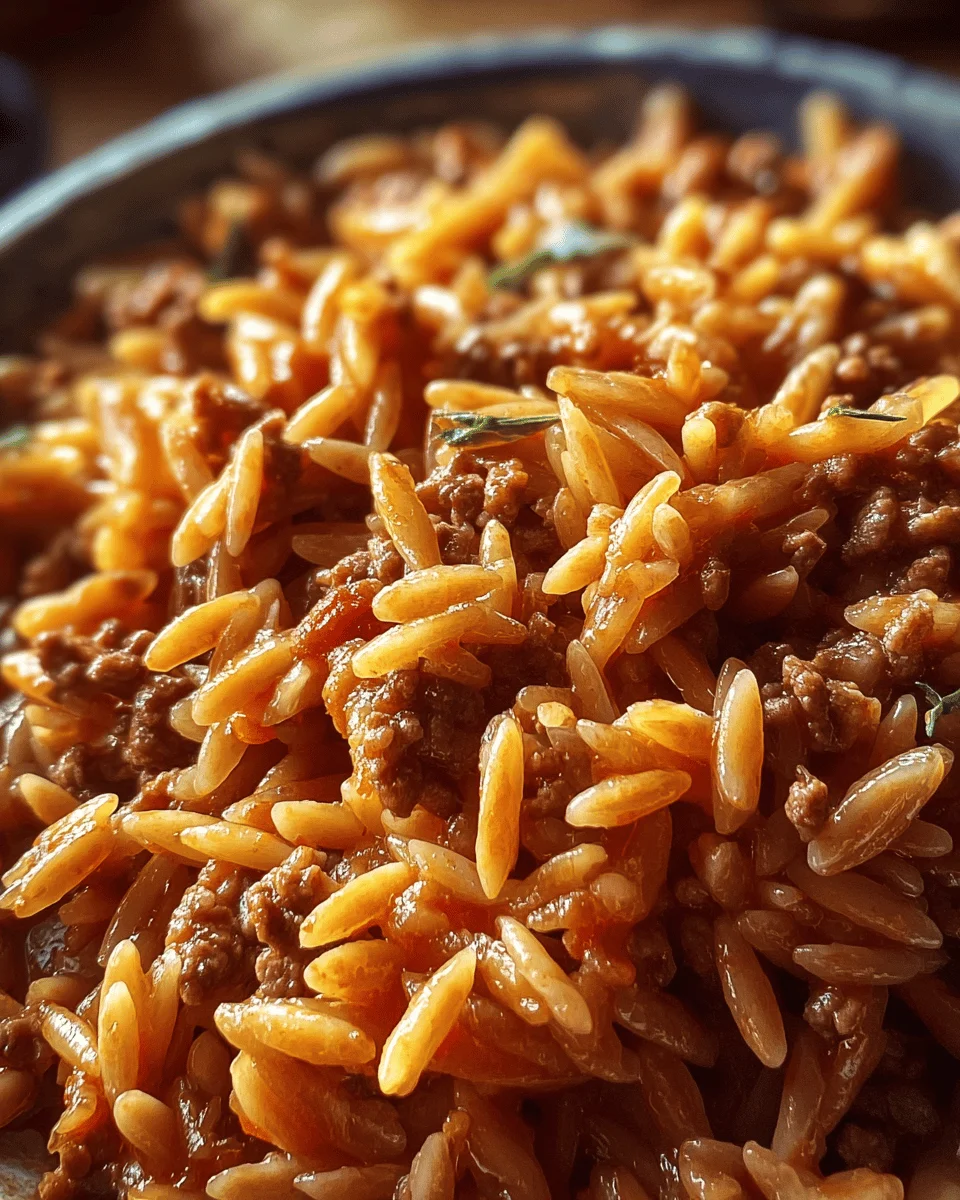
Dinner Recipes

Meet Aimee!
Lorem ipsum dolor sit amet, consectetuer adipiscing elit, sed diam nonummy nibh euismod tincidunt ut laoreet dolore magna aliquam erat volutpat. Ut wisi enim ad minim veniam, quis nostrud exerci tation ullamcorper suscipit lobortis nisl ut aliquip ex ea commodo consequat.